

Optimize Squarespace Images for SEO & Speed
Step-by-Step Guide to Squarespace Image Optimization
Images bring your Squarespace site to life—but if they’re too large or unoptimized, they can slow your pages and hurt your SEO. This beginner-friendly guide walks you through six simple steps to make sure every photo and graphic looks great and loads fast. Ready to boost your site’s performance? Let’s dive in!
Step 1: Pick the Right File Type
Choosing the right format is your foundation. For photographs, use JPEG; it balances quality with smaller file sizes. For logos, icons, or images with transparency, choose PNG. If you want an even lighter footprint and your audience uses modern browsers, consider WebP—Squarespace will serve WebP automatically when possible. You don’t need to edit code; just upload the correct file, and Squarespace’s content delivery network (CDN) takes care of the rest.

Step 2: Compress Your Images
Before you upload, shrink your files without losing visible quality. Two free, beginner-friendly tools:
TinyPNG: Drag and drop up to 20 images at once. It uses smart algorithms to reduce size by up to 70%.

imagecompressor.com: Offers both lossless and lossy modes; you can preview the final look before downloading.
Aim for each image to be under 250 KB. Smaller files load faster on desktop and mobile, helping your site rank higher and keeping visitors happy.

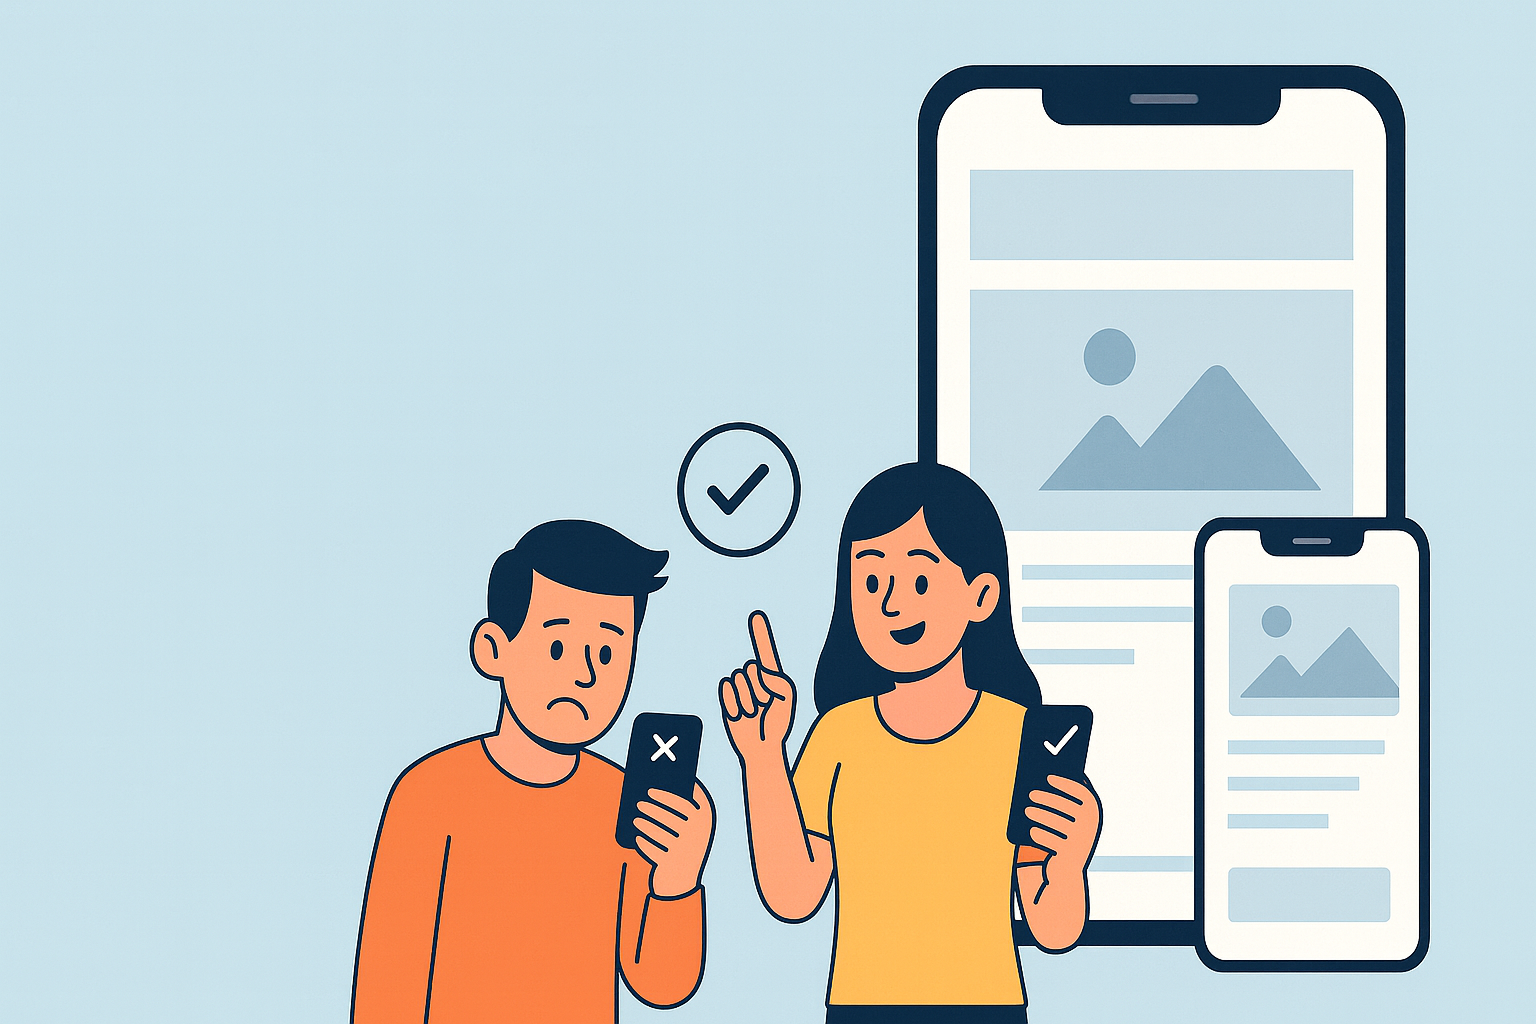
Step 3: Rename Files & Add ALT Text
Search engines can’t “see” images but can read filenames and ALT text. Follow these simple tips:
Rename your file: Use descriptive, hyphen-separated names like
golden-gate-bridge-sqsp.jpg.Write ALT text: In the image block settings, add a concise description (under 125 characters) that mentions what the image shows and, if natural, your keyword. For example: “Golden Gate Bridge at sunset on a Squarespace portfolio page.”
Proper naming and ALT text improve accessibility for screen readers and give search engines context about your visuals.
Step 4: Set Display Dimensions
Uploading a giant, 4000 × 3000 px image and then scaling it down in the browser still makes users download the full file. To avoid this:
In your image block, under Design → Image Size, choose a layout that matches your page (e.g., Inline or Poster).
Click the crop or scale icon to define the maximum display dimensions—Squarespace will then serve only the size you need.
This keeps each image lean and ensures it looks crisp on every device.
Step 5: Turn On Lazy Loading
Lazy loading defers off-screen images until the visitor scrolls down. This simple toggle can dramatically speed up initial page loads:
Go to Settings → Advanced → Performance.
Enable Lazy Load Images.
Now, images below the fold won’t load until needed, making your homepage and landing pages feel instant—an important factor for Google’s page-speed ranking.
Step 6: Monitor Your Site’s Speed
After optimization, it’s key to test and keep an eye on performance:
Google PageSpeed Insights: Enter your page URL to get mobile and desktop scores, along with specific recommendations.
Run tests whenever you add new images or make design changes. If scores dip, revisit Steps 2–5 to see where you can squeeze out extra savings.
Bonus Tips for Ongoing Success
Use a Template Built for Speed: Our Squarespace Premium Templates are designed with lightweight code and responsive imagery in mind.
Consider a Custom Build: For a turnkey solution that bakes image optimization into every page, explore our Custom Squarespace Website Design service.
Amplify with PPC: Fast pages help your ads perform better. Ask us about our PPC Ads offerings to maximize ROI.
Get Help Anytime: Questions? Ready for one-on-one guidance? Contact Us.
Applying these six steps will keep your images crisp, your pages fast, and your SEO on track. A speedy, user-friendly site not only ranks higher—it also keeps visitors exploring your content longer.